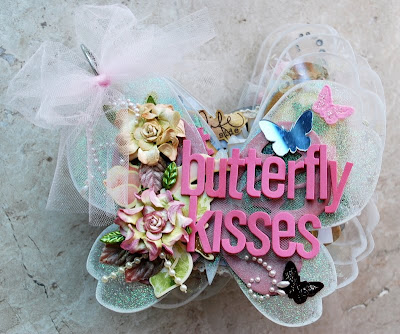
Many of the scrapbook suppliers have over the past year released clear acrylic albums which are all the rage nowadays. However, due to their see-through nature, embellishing them requires a somewhat careful placement of paper, photos and embellishments, and after a while, there are only so many ways of doing this. Heat embossing the acrylic pages with various coloured embossing powders creates a different effect on the clear acrylic background and can give a different look to the album altogether. How is this done?
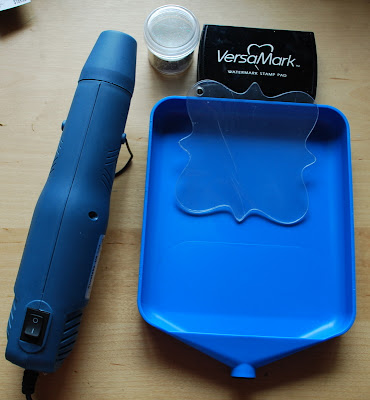
First, gather your materials. You will need the clear acrylic albums page , your embossing ink (I used Versamark), embossing powder (I used clear holographic), a heat gun, and, if you have one, a tray to catch the embossing powder.
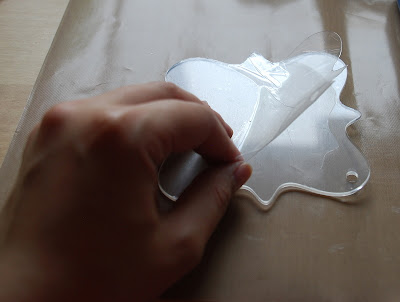
Lay the acrylic page on a craft sheet to protect your worktable. Gently peel the protective film off one side of the acrylic sheet only, exposing the surface to be embossed.
Using the Versamark/embossing ink, ink the exposed surface of the acrylic sheet. How you ink it depends on how you want the final product to look. If you intend to cover the entire page, then sweep your ink pad across the surface. It does not have to be even, but do avoid leaving patches, unless a patchy effect is what you are going for. In my case, my intention was to emboss around the sides of the page, leaving the center clear. I therefore swiped my inkpad face down over the page , starting from about 1” from the edge and covering evenly.
When you’ve completed inking the page, place it face up in the tray. (If you don’t have one, just use a sheet of rough paper to catch the extra embossing powder.) Sprinkle the embossing powder over the inked portions of your page.
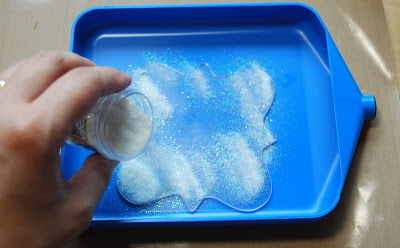
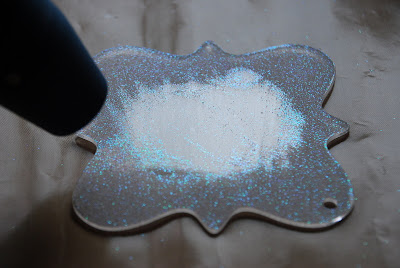
When the entire page is covered, gently lift it off the tray and place it on your craft sheet. (Again, if you don’t have a tray, just lift the sheet off your working sheet of paper and place it on another clean sheet of paper.) Using your heat gun, apply heat to the embossing powder until it melts and adheres to the acrylic surface. Depending on the size and thickness of your acrylic sheet, some acrylic sheets may soften and bend slightly but do not be alarmed, place them flat to cool and you will find that they do revert back to the original after cooling. Do avoid holding the heat gun in place over any one spot for too long as that may cause the acrylic to over soften. Do watch your embossing powder and once you see signs of it beginning to melt, move the heat gun to another spot, working in this manner until all the powder has melted.
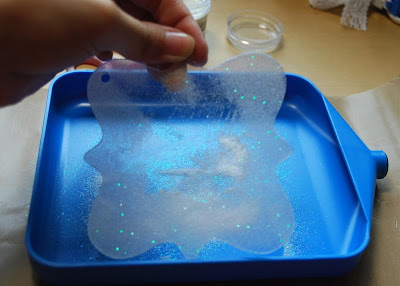
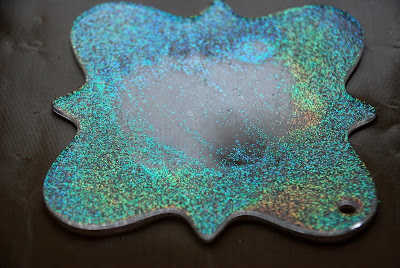
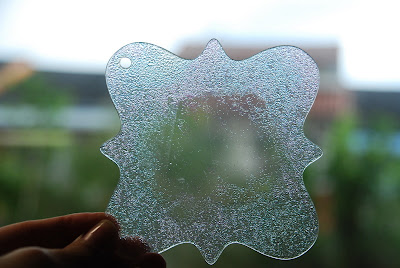
And voila! You have your finished product, an acrylic sheet embossed with the embossing powder of your choice. Peel off the protective film of the other side of the sheet and you will have one textured side and one glossy side, with both showing the glitter/shine of the embossing powder you used. Do note that you can even choose to stamp images using your clear/rubber stamps, and for the more ambitious, even try to achieve a stained glass effect with different coloured embossing powders. As can be seen from the finished sheet which I’ve held up to the light, it truly has a lovely translucent textured effect which will make your acrylic album very unique indeed.
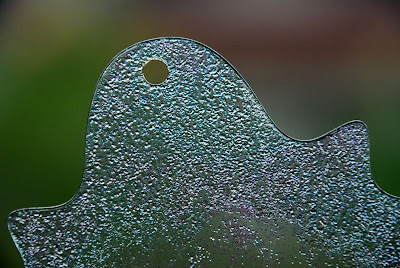
Below are a couple of examples showing the cover page (both sides) of an acrylic album which I covered with embossing powder and heated, as well as a page where I stamped swirl images and heat embossed them, and defined them with Perfect Pearls.
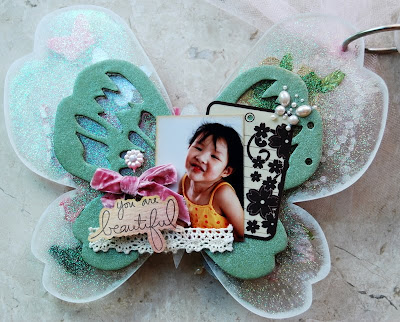
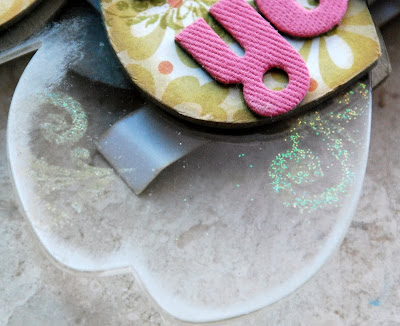
And so that’s it from me today, this is Carol, signing off. Hope you have enjoyed this week’s tutorial, and I wanna see all your works posted in our Flickr page! Have a good rest of the week, and do remember to tune in again on Friday for our challenge of the week!


7 comments:
What a great tutorial...I love the end result...I have to try this out!!! TFS!!!
beautiful idea Carol! :)
okay, this is a GREAT idea. I would have never had the nerve to try it on my own. My hoarding gene prevents me from trying anything new!!! Thanks for the inspiration!! :)
Great idea! Love it!
Thanks, everyone! Glad it helped with the inspiration!
wow I totally want to try this out now! I scrapped an acrylic album for an xmas present for my nan and had been umming and ahhing over whether to get one to decorate for myself - now I know I'm going to!!
Beautiful! Acrylic Sheets was use amazingly. Good Job to the blog owner. I like to visit your blog once again. Kudos!
Regards,
Philip Seo
Post a Comment